Level 3 · Classical technique · 20 min
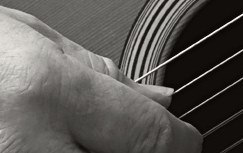
Nail, angle and tone colour
By the end you can make a rounded and then a bright sound on the same note.
Before this lesson
Lesson steps
1 Check the nail edge
Test the string’s contact on the pad and then on the nail edge.
4 min
Check for · The string slides off without catching.
More detail
Shape a ramp suited to your finger, without sharp corners or unnecessary length. If you play without nails, go straight to stroke practice.
2 Polish the edge
Compare two index attacks on the same open E.
4 min · Quarter note = 48, 1 note per click


Check for · You no longer hear scraping at the attack.
More detail
If you use nails, polish just the rough spot you found. With fingertips, look for an even release from the pad.
3 Compare i, m and a
Compare attacks by i, m and a on string 1.
4 min · Quarter note = 48, 1 note per click
Revisit the tablature · Step 2
Check for · With your eyes closed, you cannot identify the finger by its tone colour.
More detail
Spend two minutes on this comparison in the short routine.
4 Explore tone colours
Move the attack from the fingerboard towards the bridge on the same note.
4 min · Quarter note = 48, 1 note per click


Check for · You can deliberately produce a round tone, then a brighter one.
More detail
Near the fingerboard the tone rounds out: sul tasto. Near the bridge it brightens: sul ponticello.
5 Bring out one voice
Bring out the ring finger’s sound in the arpeggio.
4 min · Quarter note = 48, 1 note per click

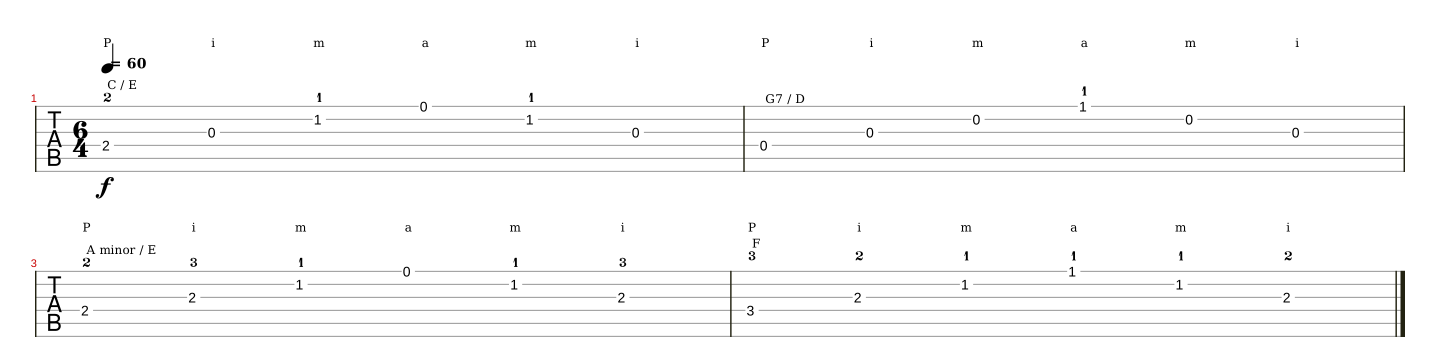
Check for · The chosen finger stands out without making the others harsh.
More detail
Finger preparation is covered in Warm-up and Giuliani; planting too early can stop a ringing string.
You can move on when…
You pass when a listener can distinguish your two colours at a similar volume.
If a movement feels difficult
Your nail catches the string.
Check the nail edge and gradually adjust the angle that catches the string.
Each finger has a different tone colour.
Compare i, m and a on the same string, at the same place.