Tone practice begins with a sound you can compare. Choose one string, one finger and a comfortable volume. Listen to the attack, the release and the note that follows. A small change in contact can be easier to judge in this simple setting than inside a chord with several voices.
Change one feature at a time. Compare the angle of the finger, the contact with fingertip or nail, or the strength of the attack while keeping the other conditions similar. Repeat the comparison rather than deciding from one unusually clear or noisy note. Your fingers may need different contacts to produce a balanced line.
Next, alternate two fingers or place a melody above a quieter accompaniment. Listen for an unexpected loud–soft pattern and for a thumb that covers the upper voice. A pleasing isolated note is useful only if you can choose its volume and reproduce it in a phrase.
Make a short recording and listen without playing along. Choose one observation for the next attempt, such as a smoother ring-finger release or a lighter bass. Then return to your piece and hear whether the melody retains its direction when the improved sound is part of the music.
What this exercise helps you change
- Nail noise
- Thin tone
- Uneven tone colour
- Melody getting lost
Your practice steps
1. Check the nail edge
If you play with nails, find the edge that catches the string. File gradually, checking the sound on the guitar.
Shape a ramp suited to your finger, without sharp corners or unnecessary length. If you play without nails, go straight to stroke practice.
Your checkpoint: The string slides off without catching.
2. Polish the edge
Polish the edge with a very fine abrasive. Play the same note again to check that the noise has gone.
The guide suggests 1000 grit or finer. The thumb attacks in the opposite direction: adapt its shape, as Sage Music explains.
Your checkpoint: You no longer hear scraping at the attack.

Read the complete static tab · Download the alphaTex file

The player and its sounds load when you choose to use them.
3. Compare i, m and a
On open string 1, play i, then m, then a with free strokes. Then compare rest strokes, finishing on the neighbouring string.
Spend two minutes on this comparison in the short routine.
Practice reference: 60 bpm · 1 attack per click.
Your checkpoint: With your eyes closed, you cannot identify the finger by its tone colour.
Read the complete static tab · Download the alphaTex file
The player and its sounds load when you choose to use them.
4. Explore tone colours
Play the same note near the soundhole, then near the bridge. Change the attack angle slightly and listen.
Near the fingerboard: tasto; near the bridge: ponticello. Distinguish an intentional change from an unintended difference between fingers.
Your checkpoint: You can deliberately produce a round tone, then a brighter one.

Read the complete static tab · Download the alphaTex file

The player and its sounds load when you choose to use them.
5. Bring out one voice
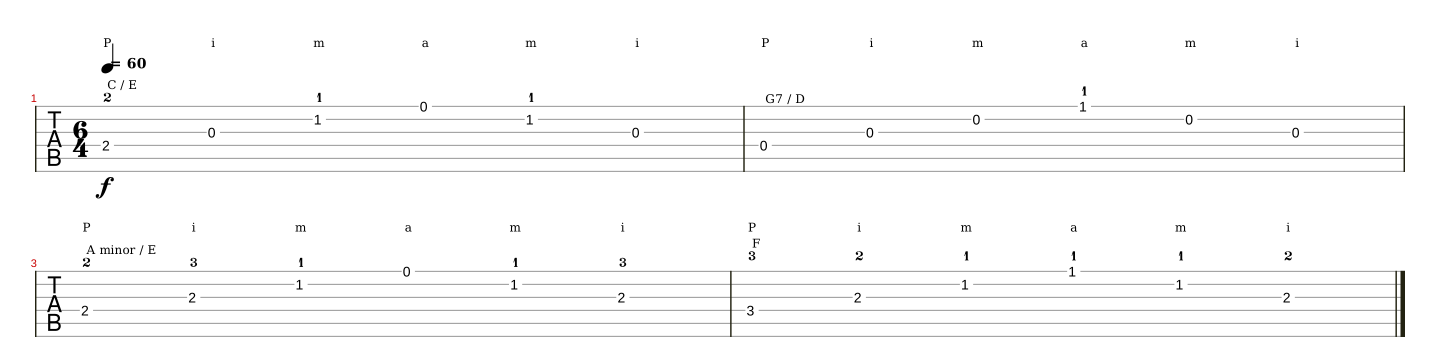
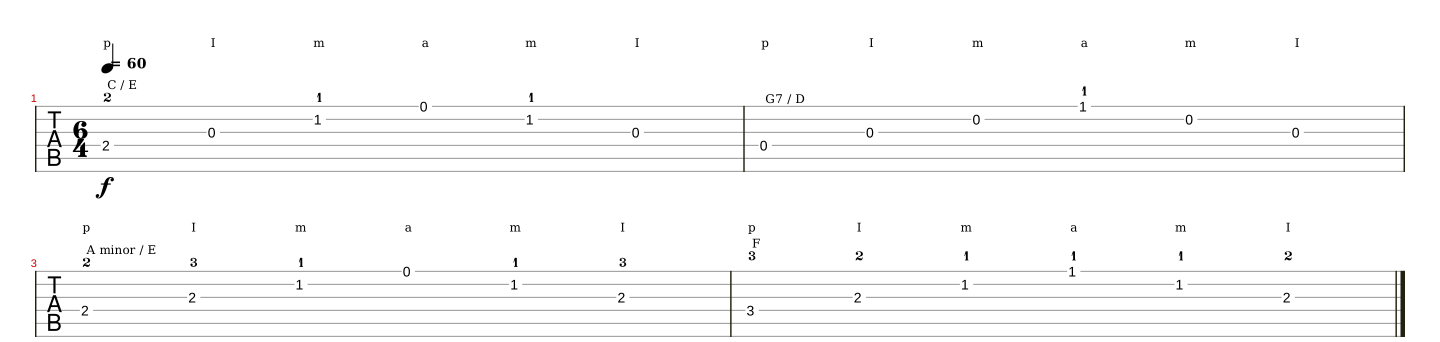
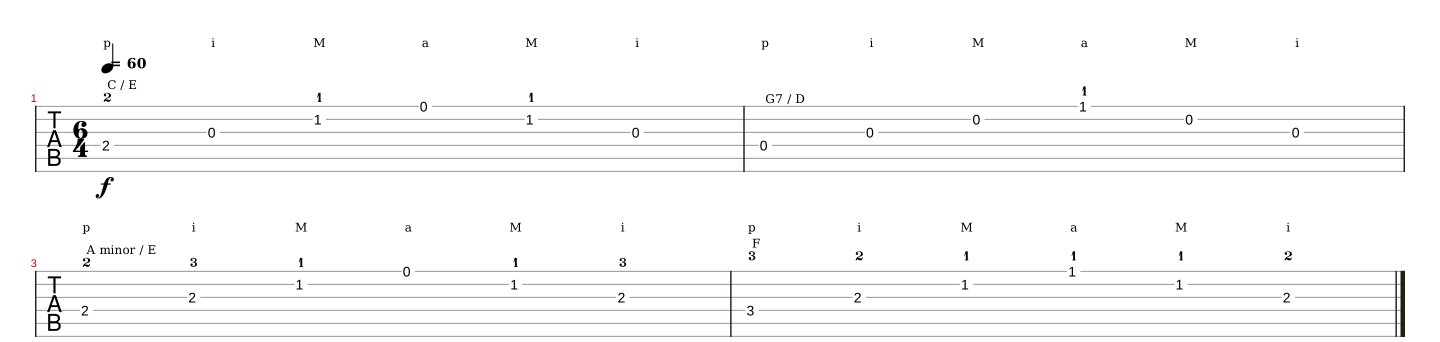
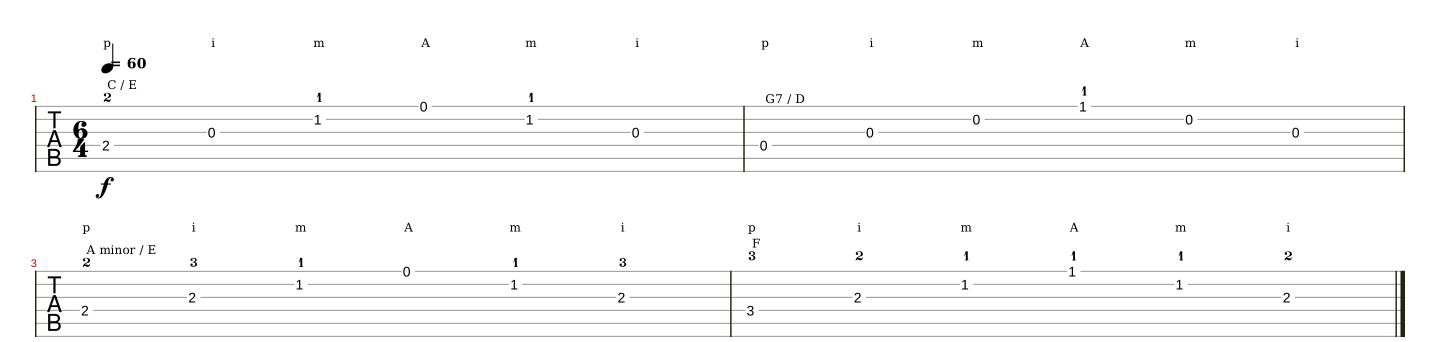
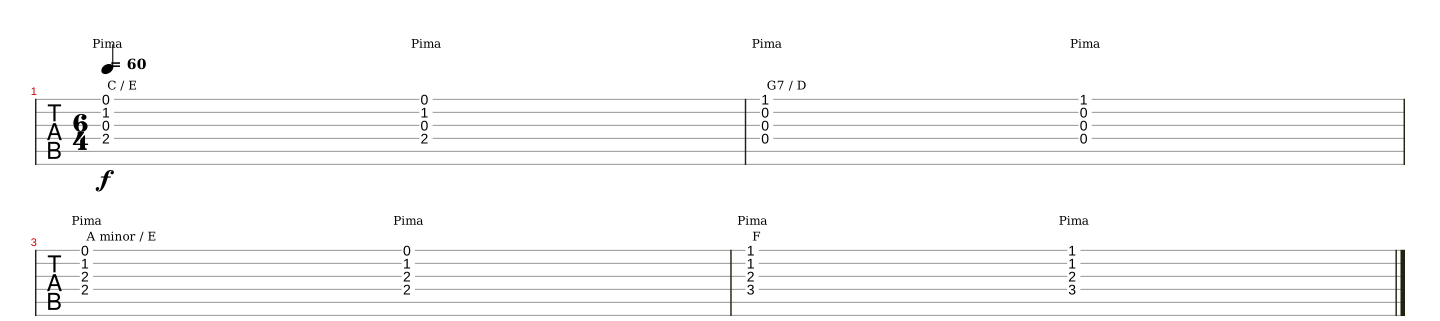
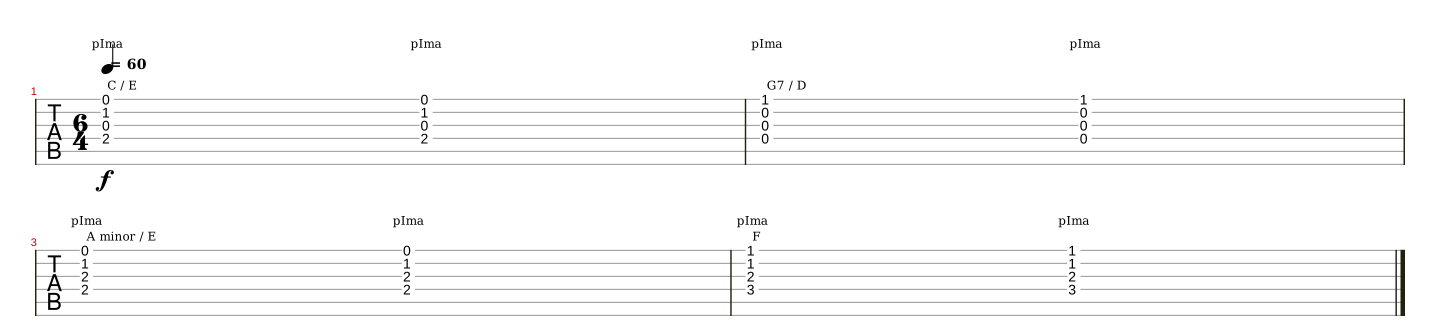
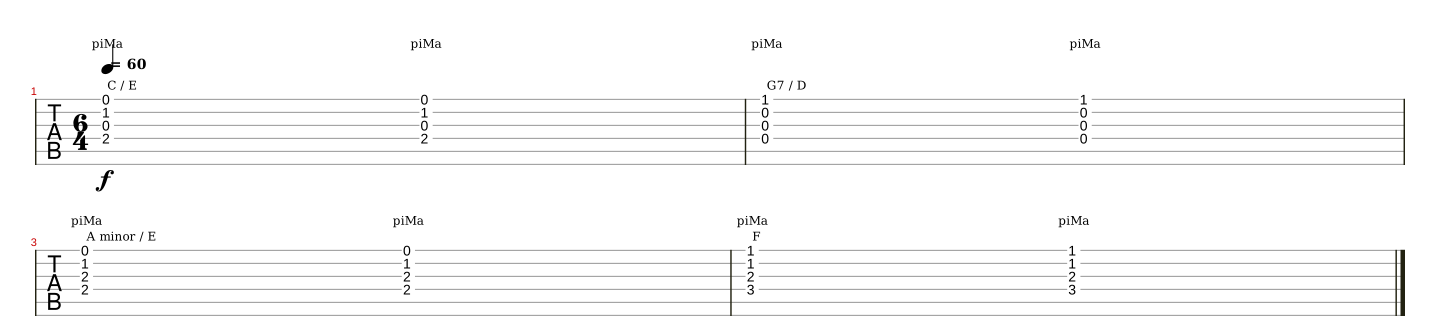
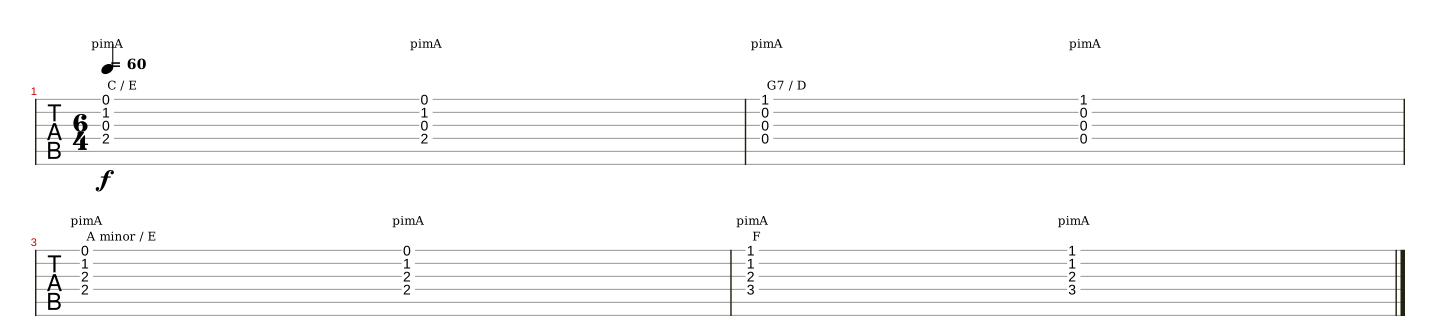
Play p-i-m-a-m-i, bringing out a different finger on each run. Then repeat with all the notes together.
Finger preparation is covered in Warm-up and Giuliani; planting too early can stop a ringing string.
Practice reference: 60 bpm · 1 attack per click.
Your checkpoint: The chosen finger stands out without making the others harsh.

Read the complete static tab · Download the alphaTex file
The player and its sounds load when you choose to use them.
Other versions to read
Common difficulties and corrections
You hear a scraping noise.
Polish the edge, then compare the same stroke before and after.
Return to step 2Your nail catches the string.
Check the nail edge and gradually adjust the angle that catches the string.
Return to step 1Each finger has a different tone colour.
Compare i, m and a on the same string, at the same place.
Return to step 3The tone is thin or harsh.
Try a less direct attack angle and move closer to the soundhole.
Return to step 4The melody disappears under the accompaniment.
Bring out only the melody finger, keeping the others soft.
Return to step 5The thumb has a different tone colour.
Check its nail angle separately: the thumb attacks in the opposite direction.
Return to step 1Watch and listen
Choose the recording that matches your current goal. Videos load only when you select them and require an internet connection.
Lesson · This is Classical Guitar
Before comparing your attack angles.
English commentary. Link and metadata checked for our selection.
Lesson · SiccasGuitars
During your first nail shaping, then for maintenance.
English commentary. Link and metadata checked for our selection.
Sources and transcription choices
- Werner — Tone production
- McAllister / Siccas — Filing your nails
- Sage Music — Nail shaping
- Classical Guitar Corner — 7 exercises
- Werner — Right-hand planting
The notes follow the credited sources. Fingerings, phrase divisions and practice tempos are editorial learning choices. How our transcriptions work.
Apply the skill in a piece
- Lágrima
- Adelita
- Endecha
- Oremus
- Prelude No. 2 in A minor
- Marieta
- Pavana
- Rosita
- Sueño — Mazurka
- María
- Mazurka in G
- Las dos hermanitas — Two Waltzes
- Isabel — Waltz
- Paquito — original version ¡Sola!
- Tango — Alier edition
- Gran Vals
- Capricho Árabe
- Recuerdos de la Alhambra
- Danza Mora
- Sor — Study Op. 35 No.13
- Carcassi — Study Op. 60 No.3
- Sor — Study Op. 35 No.22
- Carcassi — Study Op. 60 No.7
- Study Op. 48 No.5
- Sor — Lesson Op. 60 No.1
- Sor — Lesson Op. 60 No.2
- Sor — Lesson Op. 60 No.3
- Aguado — Nuevo método, lesson 8 (A and B)
- Aguado — Nuevo método, lesson 11
- Aguado, Nuevo método, lesson 31 — first section: small barres
- Sor — Study Op. 35 No. 17
- Carcassi — Study Op. 60 No. 1
- Carcassi — Study Op. 60 No. 2
- Tárrega — Prelude in D minor
- Tárrega — Prelude in E major
- Tárrega — Prelude in D major (No.10)
- Tárrega — Prelude in D major (No.11)
- Tárrega — Preludio in E major (No. 12, Anido)
- Tárrega — Prelude in A minor (No. 13, Anido)
- Tárrega — Preludio in G major (No. 3)